Bake Classic Peanut Butter Cookies: Pro Tips for Perfect Texture
There's an undeniable magic to a perfectly baked cookie, and when it comes to timeless appeal, few can rival the allure of
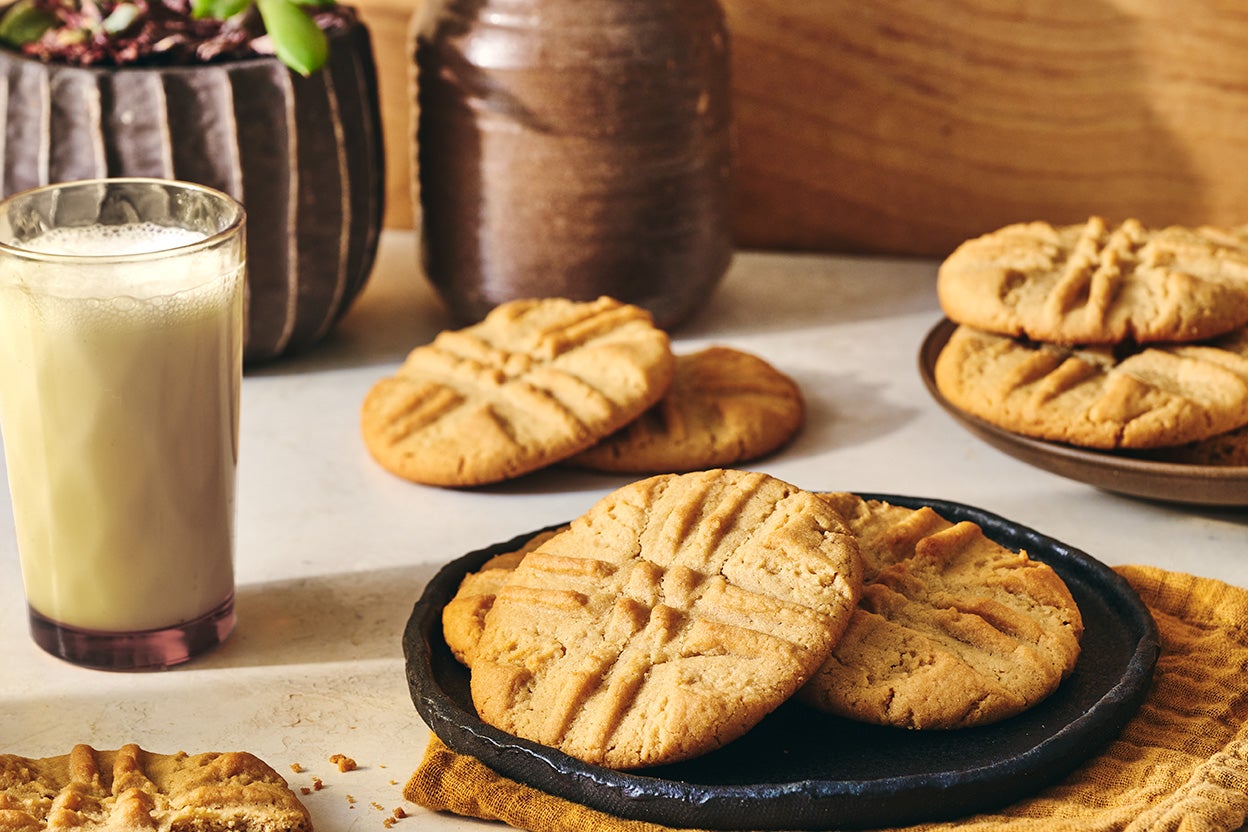
classic peanut butter cookies. That distinctive cross-hatch pattern, the rich, nutty aroma, and the promise of a tender, chewy bite – it's a nostalgic treat that transcends generations. Paired with a tall glass of cold milk, these cookies are a simple pleasure that brings comfort and joy. But what truly elevates a good peanut butter cookie to a great one? It's all in the texture. Achieving that ideal balance of crisp edges, a soft interior, and a delightful chewiness is an art, and we're here to share the pro tips to master it.
The Quest for Perfect Peanut Butter Cookie Texture
The hallmark of truly exceptional
classic peanut butter cookies lies in their texture. We're aiming for that irresistible sweet spot: a slightly crisp exterior that gives way to a soft, moist, and delightfully chewy center. This isn't achieved by accident; it's the culmination of careful ingredient selection and precise technique. Understanding the role each component plays is your first step towards cookie perfection. From the type of peanut butter you choose to the way you cream your butter and sugars, every detail contributes to the final mouthfeel.
One of the most crucial decisions for optimal texture is your choice of peanut butter. While natural peanut butter has gained popularity for health reasons, for that quintessential classic texture, most experts recommend sticking to regular, processed peanut butter. Why? Regular peanut butter contains stabilizers, added sugars, and oils that provide a consistent, uniform texture and fat content, which translates directly to a more predictable and desirable cookie crumb. Natural peanut butter, with its separated oils and often grittier texture, can lead to cookies that are drier, more crumbly, or spread excessively. For this recipe, smooth, regular peanut butter is your best friend.
Essential Ingredients: Your Foundation for Flavor and Texture
Crafting the perfect batch of
classic peanut butter cookies begins with a meticulous selection of ingredients. Each one plays a vital role, not just in flavor, but critically, in achieving that desired texture.
*
All-Purpose Flour: The structural backbone of your cookies. Using the correct amount prevents them from being too crumbly or too tough.
*
Baking Soda: This leavening agent reacts with acidic ingredients (like brown sugar) to help the cookies spread and achieve a tender crumb, contributing to a slightly chewy texture. Some recipes also include baking powder for added lift, but baking soda alone often delivers that classic dense chew.
*
Salt: Essential for balancing the sweetness and enhancing the nutty flavor of the peanut butter. Don't skip it!
*
Unsalted Butter (Softened): Butter provides richness and contributes significantly to the cookie's spread and tenderness. Using softened butter is crucial for proper creaming. While some recipes call for a combination of butter and shortening, opting for all butter often results in a richer flavor and a slightly crisper edge.
*
Granulated Sugar & Light-Brown Sugar: This dynamic duo is key to texture. Granulated sugar promotes crispness and spread, while packed light-brown sugar adds moisture, depth of flavor, and contributes to that desirable chewiness. The molasses in brown sugar keeps cookies softer and chewier for longer.
*
Large Eggs: Eggs act as a binder, adding moisture and richness, and helping to emulsify the fats. They contribute to the cookie's structure and rise.
*
Smooth Peanut Butter (Regular, Not Natural): As discussed, this is non-negotiable for classic texture. Its consistent fat and sugar content ensure proper spread and a moist, uniform crumb.
Mastering the Method: Step-by-Step for Success
Beyond just combining ingredients, the technique you employ will dictate the final outcome of your
classic peanut butter cookies.
1.
Preheat and Prep: Always start by preheating your oven to 350°F (175°C). This ensures a consistent baking environment from the moment your cookies enter the oven. Line your baking sheets with parchment paper; this prevents sticking and promotes even baking, making cleanup a breeze.
2.
Whisk Dry Ingredients: In a medium bowl, whisk together the flour, baking soda, and salt. Whisking ensures these ingredients are evenly distributed, which is essential for uniform leavening.
3.
Creaming Butter and Sugars: This is a crucial step for texture. In the bowl of an electric mixer fitted with the paddle attachment, combine your softened unsalted butter with both granulated and light-brown sugars. Mix on medium speed for 2 to 3 minutes until the mixture is visibly pale and fluffy. This process incorporates air, which contributes to a lighter, more tender cookie. Don't rush this step!
4.
Incorporate Wet Ingredients: Mix in the eggs one at a time, ensuring each is fully incorporated before adding the next. Then, add the smooth peanut butter and mix until just combined. Overmixing at this stage can start to develop gluten prematurely.
5.
Gradually Add Dry Ingredients: Reduce your mixer speed to low. Add the flour mixture in three separate batches, mixing until *just combined* after each addition. The key here is to avoid overmixing. Overworking the dough develops gluten, which can lead to tough, dense cookies. Stop mixing as soon as no streaks of flour remain.
6.
Chill the Dough: Cover the dough with plastic wrap and refrigerate for at least 30 minutes. This step is often overlooked but is vital for texture and flavor. Chilling allows the fats to solidify, preventing excessive spreading during baking, which results in a thicker, chewier cookie. It also allows the flavors to meld and deepen. For even better results, some bakers chill for up to an hour or more. For more insights on perfecting your cookie dough, check out
Classic Peanut Butter Cookies: What Makes a Recipe the Best?.
7.
Shape and Pattern: Using a 1 1/2-inch ice cream scoop, drop uniform balls of dough onto your prepared baking sheets, spacing them about 1 1/2 inches apart. For an extra touch and added texture, you can lightly roll the dough balls in granulated sugar before placing them on the sheet. Then, using the tines of a fork, gently press down on each cookie dough ball to flatten it slightly and create the iconic cross-hatch pattern. This isn't just for aesthetics; it helps the cookies bake more evenly and prevents them from puffing up too much in the center.
8.
Bake to Golden Perfection: Bake for 14 to 16 minutes, or until the edges are golden brown and the centers appear set but may still look slightly soft. Remember that cookies continue to bake slightly as they cool on the hot sheet.
9.
Cooling Protocol: Let the cookies cool on the baking sheets for 5 minutes before carefully transferring them to a wire rack to cool completely. Cooling on the sheet helps them firm up and prevents breakage, while cooling on a wire rack ensures air circulation, preventing soggy bottoms.
Pro Tips for Troubleshooting & Customization
Even with the best recipe, sometimes things don't go exactly as planned. Here are some pro tips to troubleshoot common issues and personalize your
classic peanut butter cookies.
*
Cookies Spreading Too Much? This is often due to dough that wasn't chilled enough, butter that was too soft or melted, or too much fat in the recipe. Ensure your butter is softened, not melted, and always chill your dough. A slightly higher oven temperature (like 375°F for a shorter bake time as seen in some variations) can also help set the edges faster, limiting spread.
*
Cookies Too Dry or Crumbly? This usually points to too much flour or overbaking. Measure your flour accurately (weighing is best!) and remove cookies from the oven when the edges are just golden, even if the centers seem soft. They will firm up as they cool.
*
Not Chewy Enough? The ratio of brown sugar to granulated sugar plays a big role here. Increasing brown sugar slightly and ensuring proper chilling can boost chewiness.
*
Storage: Once completely cool, store your cookies in an airtight container at room temperature for up to 3 days. For longer storage, you can freeze baked cookies or even raw dough balls for a quick treat anytime.
*
Creative Twists: While we're celebrating the "classic," there's always room for a little fun. Consider adding a cup of chocolate chips or chopped peanuts to the dough for an extra layer of flavor and texture. Just be mindful that additions can slightly alter the bake time. If you're looking for more adaptable or simpler approaches, take a peek at
Easy Classic Peanut Butter Cookies: A Family Favorite Treat.
Baking
classic peanut butter cookies is more than just following a recipe; it's about understanding the science behind the ingredients and techniques to consistently achieve that perfect texture. By selecting the right peanut butter, properly creaming your fats and sugars, avoiding overmixing, and crucially, chilling your dough, you're well on your way to baking a batch that will impress every time. So go ahead, tie on that apron, and fill your home with the comforting aroma of these irresistible treats. Happy baking!